excel下拉菜单怎么做图文教程:
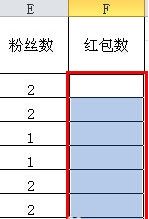
1.、在需要进行下拉框菜单选择的表格中,进行全选;
2、接着在excel表格主菜单中,选择并点击“数据”功能菜单,如图:

3、在数据菜单下面的工具中,找到“数据有效性”工具,点击下拉符号,在弹出来的功能菜单中选择“数据有效性”。

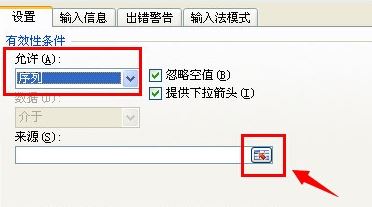
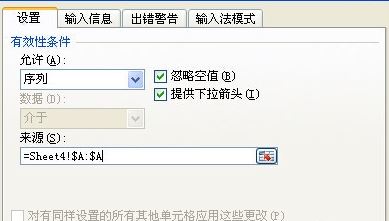
4、在数据有效性设置页面,在允许条件中选择“序列”,然后点击来源右侧的图标。
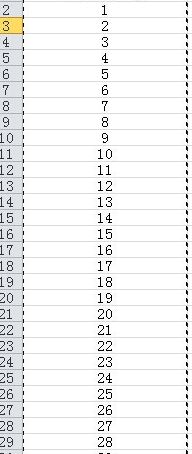
5、选择相应的数字范围,如小编这里给excel中设置了数字范围0-50,如图:
6、选择完数据来源之后,直接点击确定按钮,如图:
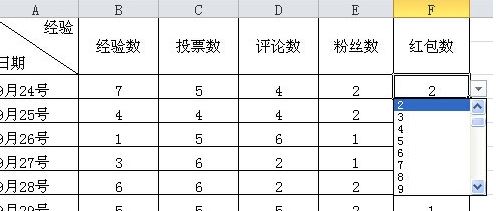
7、点击确定之后即可完成创建,点击之后就可以看到下拉菜单!
以上便是winwin7小编给大家分享的关于excel中设置下拉菜单的详细操作方法!