Photoshop滤镜功能使用方法:
1、首先我们在ps中打开一张图片;
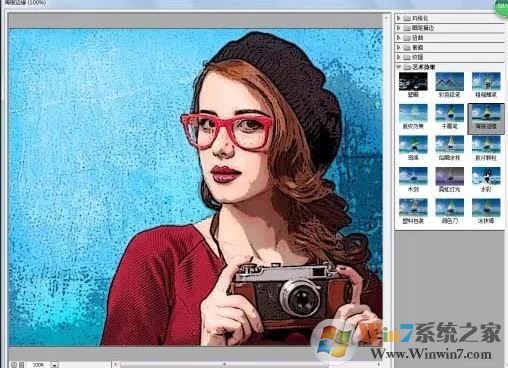
2、小编来加个照片变成漫画风格,可以这样操作:执行滤镜-滤镜库-艺术效果-海报边缘,如图:
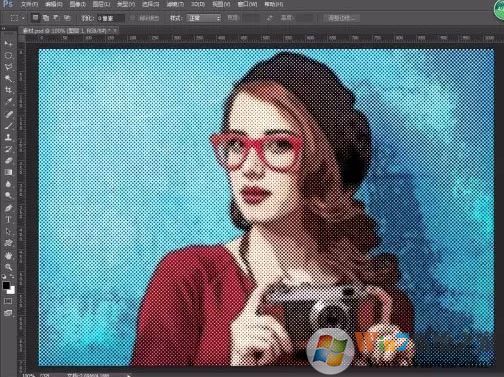
3、接着再执行滤镜-像素化-彩色半调,用来模拟漫画书上面的圆点效果,如图:
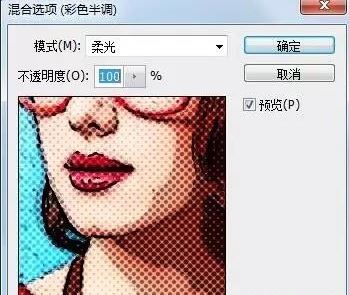
4、点击彩色半调后面的这个按钮,修改滤镜的混合模式和不透明度,修改彩色半调的混合模式为柔光。
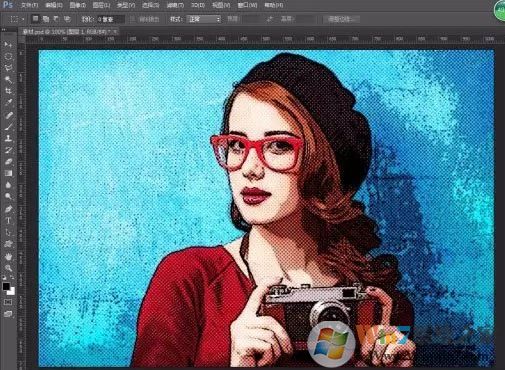
就会得到以下效果图:
下面来给大家介绍一下让照片皮肤变得更好的 磨皮功能:
1、首先点击菜单 滤镜 Imagenomioc-Pcrtraiture ;

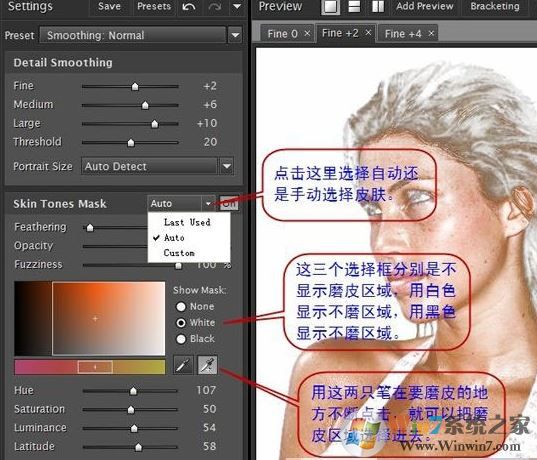
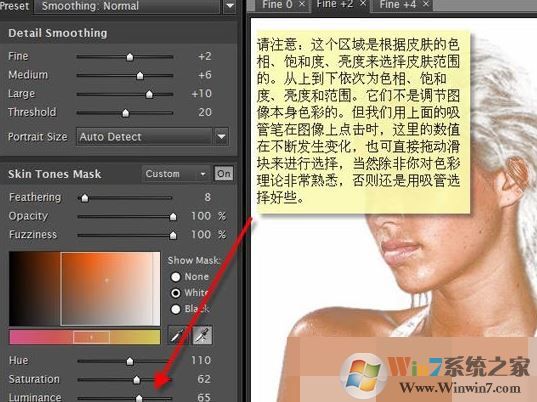
2、滤镜界面全英文,但是使用起来并不难,一般保持默认参数即可。如果你要进行精细的调节的话 就需要了解里面的大致意思了,左侧的磨皮和图像调节区域,中间的是预览区域,右侧的是输出参数设置,如图:
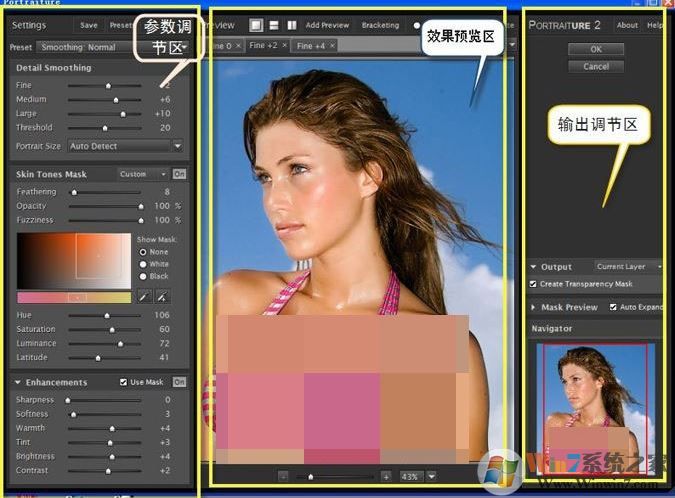
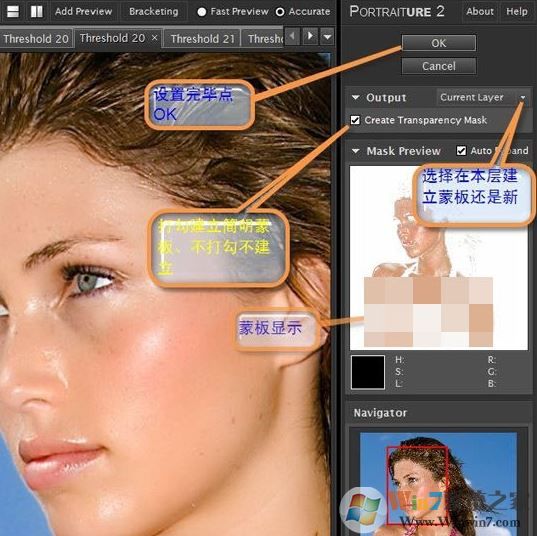
3、设完成后在右侧点击OK即可完成操作,如图:
在预览区域我们就可以看到和原图存在多大的区别,由此可见滤镜功能确实非常的强大!以上便是winwin7小编给大家介绍的关于滤镜功能的使用方法!