ps快速合并图层的方法:
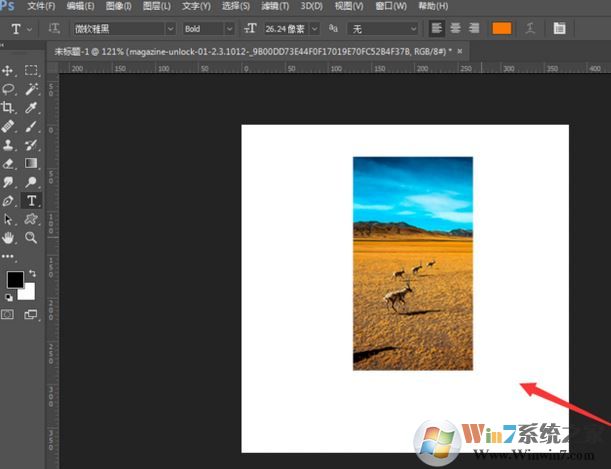
1、打开Photoshop,新建一个画布,填充白色画布,然后我们将将一张图片置入到画布中,如图:
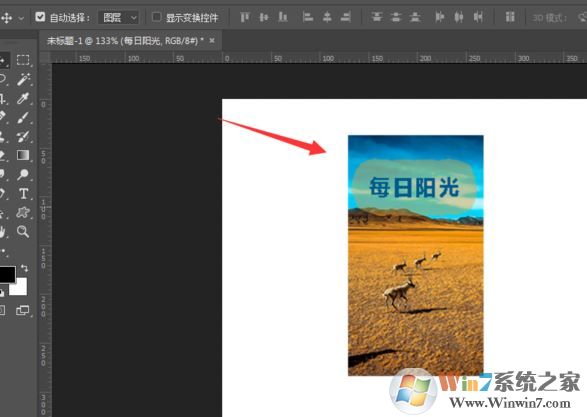
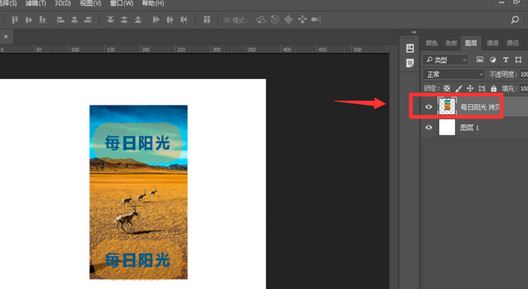
2、为了示范小编就在文档中随意输入文字增加一个图层,那么现在就已经有了两个图层,文字图层和图片图层,还可以再设置几个图层;
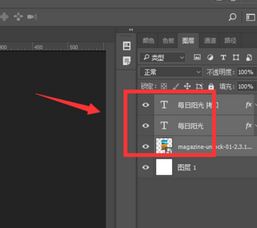
3、然后按住ctrl键或shift键将图层全部选中,如图:
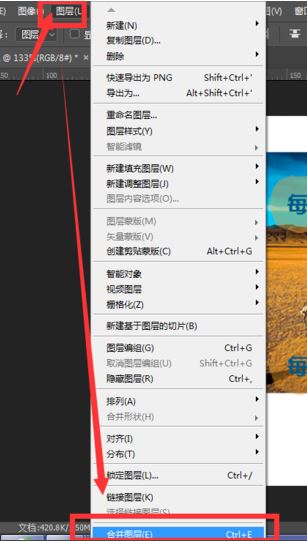
4、接着在工具菜单栏中点击“图层”,找到里面的合并图层【快捷键ctrl+e】;
5、操作完成后我们就可以看到在右侧图层状态栏就将之前选中的图层合并到一起了!
以上便是winwin7小编给大家分享介绍的关于ps合并图层的操作方法!