PS批量处理图片主要使用了PS动作录制功能
教程如下:
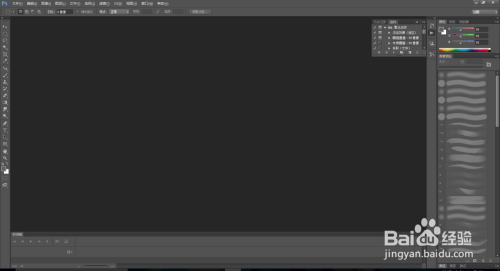
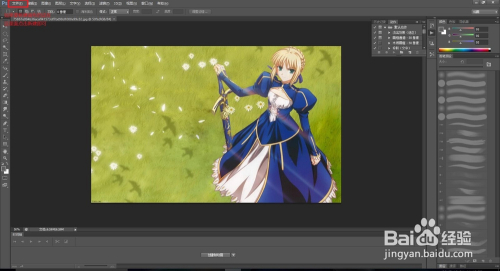
1、首先打开PS软件,这里以PS CS6为例
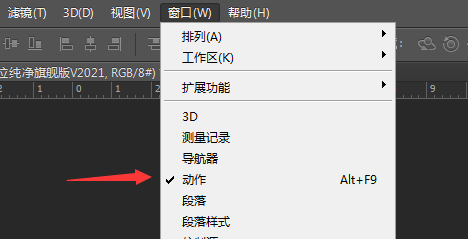
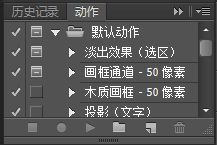
2、接下来打开动作面板(窗口-动作)
3、接下来我们要做一个示范,下面录制的是修改图片大小的动作,随便打开一张图片,或者新建画布,这个怎么都行
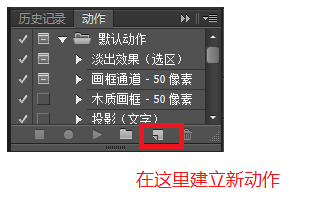
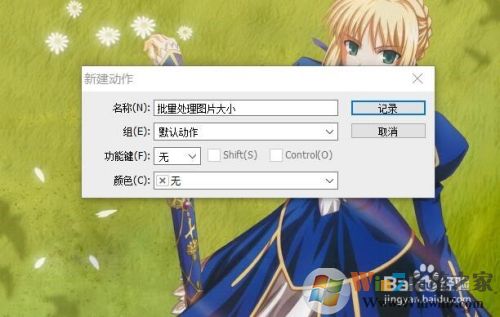
4、新建动作,给动作改名字(这个为了方便观察其实没啥用),如下图,点击记录即可开始记录。xiuchufang.com
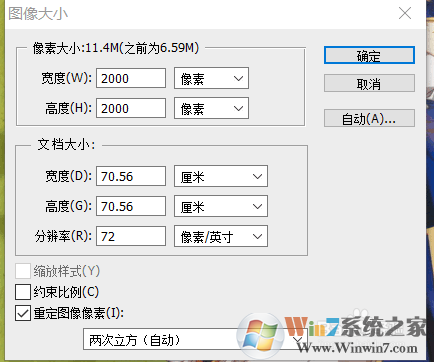
5、记录开始后,就不能乱操作乱点了,进行你修改图片的操作吧,先点击图像选项,选择图像大小(快捷键ALT+CTRL+I也是可以的)
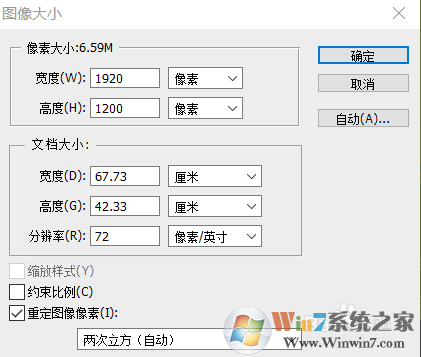
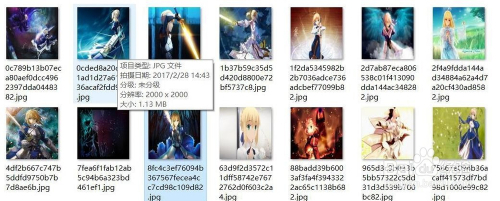
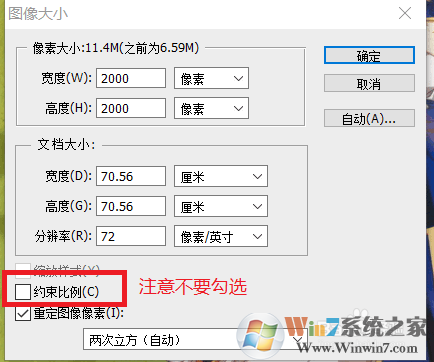
6、原来为1920*1200,我们将其改为2000*2000(按照需要可以随意),有一点要注意:约束比例选项要去掉,之后点击确定,我们就把图像大小修改完毕
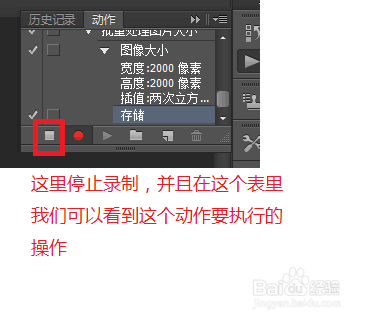
7、这步是储存修改好的图片,点击文件选择储存或者储存为,区别就是,储存会把原文件保存成修改好的图片,这样做可能会丢失原图,建议先备份原图,出储存为会将修改好的图存放在另一个文件夹里原图不变。
8、储存动作完成后就可以点击停止录制,动作完成
9、接上来我们录制完动作就可以开始批量处理图片了,在PS菜单栏点击文件,选择自动,继续选择批处理
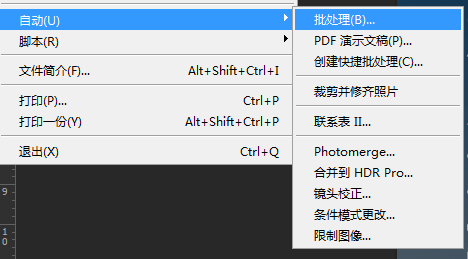
然后选择刚录制的动作、选择要处理的图片文件夹、还有选择输出文件夹
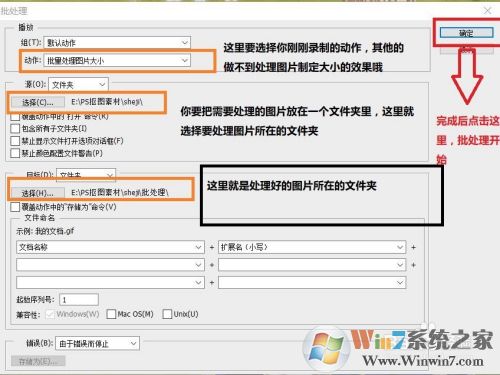
点击确定开始处理!以下是处理好图片效果。