修复工具使用方法:
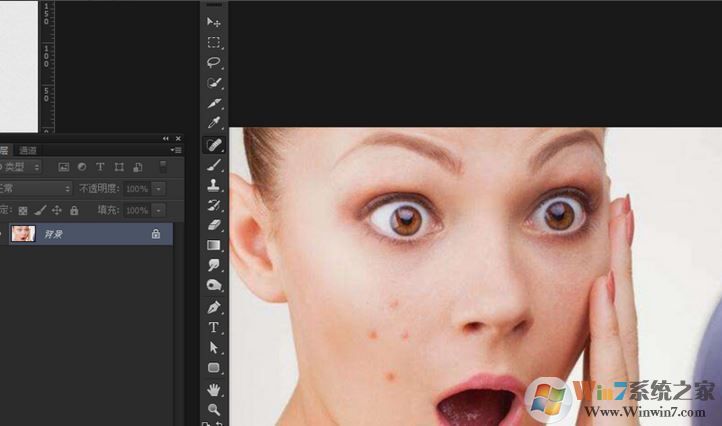
1、首先我们打开PS,然后在ps中打开需要进行修补的图片,如,小编在这里打开一张美女图片;
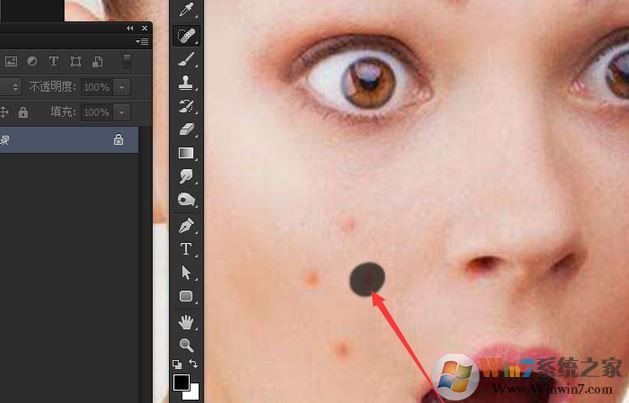
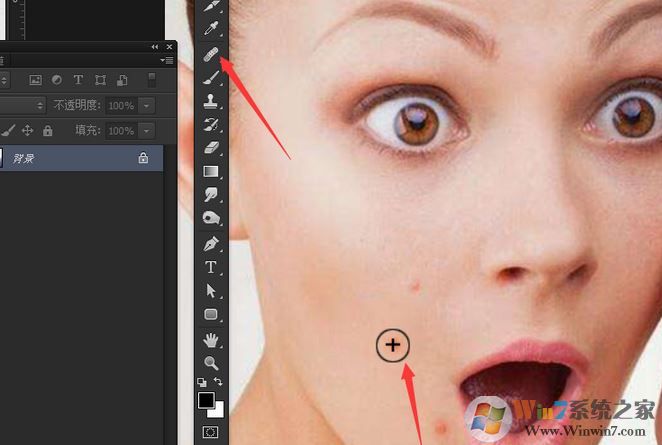
2、然后我们开始操作,在工具栏上找到污点修复工具(快捷键J),如图:

3、接着我们用污点修复画笔工具,用鼠标左键点击不放画,这个时候出现黑色蒙版,松开鼠标就可以完成修补啦!
4、如下图所示,小编使用修补工具进行修补之后就可以看到图片中发生了巨大的变化:
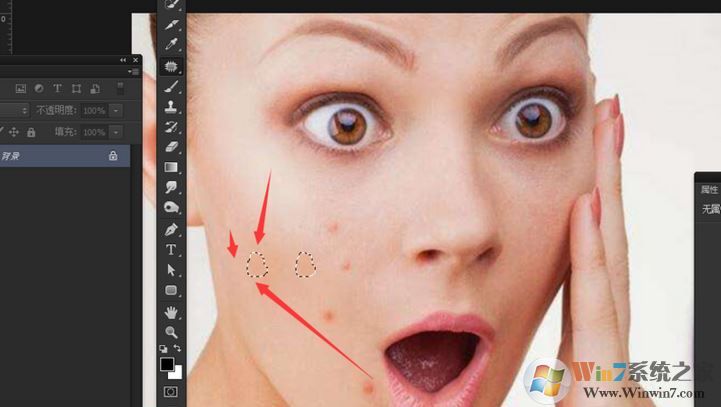
 5、接着开始进入正题,就是ps中的修补工具在工具上找到修复画笔工具,快捷键同样是J;
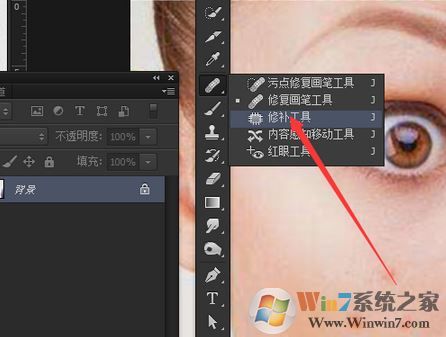
6、按住alt键,点击后,再去有污点(痘痘)的地方点击,就可以看到效果了!
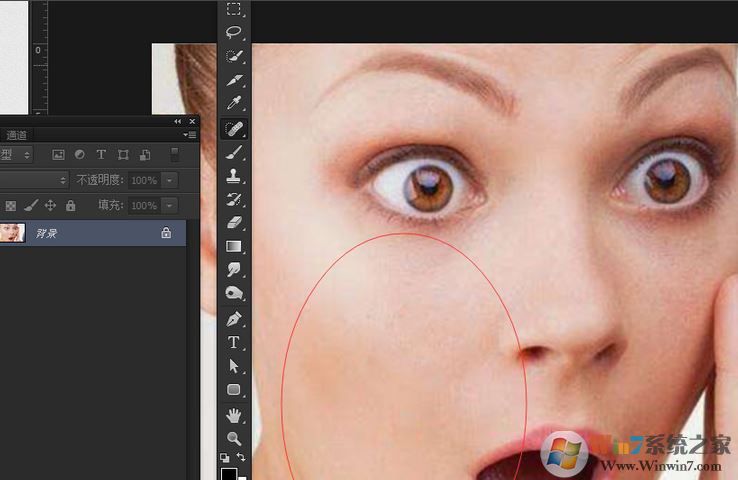
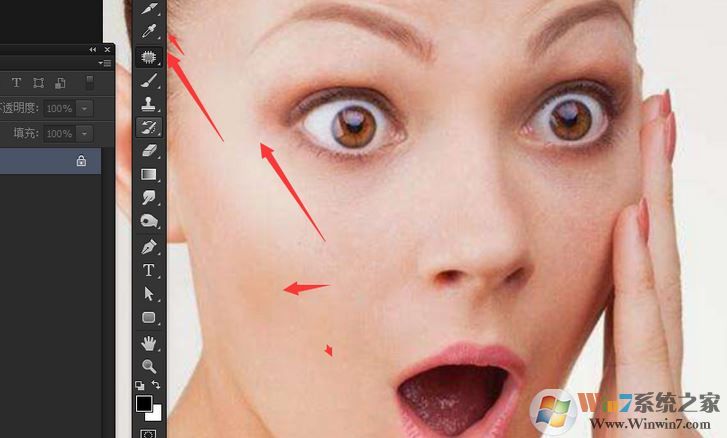
7、修补工具是画出一个选区,圈好选区后,然后往干净的地方拖过去,松开就可以完成修补,如图:
以上便是winwin7小编给大家分享的关于ps修复工具的详细使用操作方法,修补后的图片则会发生巨大的变化:
相关文章:
ps滤镜怎么用?Photoshop滤镜功能使用方法(漫画/磨皮)
ps怎么合并图层?winwin7教你ps快速合并图层的方法